

Best Outdoor Cameras to Compare Before You Choose

Best outdoor cameras can help you monitor deliveries, deter theft, and check on pets or property, but the “best” choice depends on your home layout, Wi Fi strength, and ongoing costs like cloud storage or batteries.
Contents
34 sections
-
What to decide before you shop
-
1) Power: battery, wired, or solar
-
2) Video storage: local, cloud, or both
-
3) Connectivity: Wi Fi strength and range
-
4) Smart home ecosystem: Alexa, Google, Apple
-
5) Motion alerts: accuracy matters more than resolution
-
Best outdoor cameras: side by side comparison
-
How to compare total cost, not just the camera price
-
Costs to include in your budget
-
Quick decision rule: subscription math
-
Feature checklist that actually changes your day to day experience
-
Video and night performance
-
Alerts and detection
-
Privacy and account security
-
Weather and durability
-
What this looks like with real numbers: three budgets
-
Scenario A: Starter setup for a small home – $250 total
-
Scenario B: Typical 3 camera coverage – $700 total
-
Scenario C: Higher reliability setup with PoE – $1,500 total
-
Financing and payment options: how to think about the tradeoffs
-
If you pay with a credit card
-
If you use buy now pay later
-
If you consider a personal loan for a bigger project
-
Timeline decision rules: when to buy basic vs invest in a full system
-
Under 1 year
-
1 to 3 years
-
3 to 7 years
-
7+ years
-
Practical placement plan: cover the basics with fewer cameras
-
Returns, warranties, and avoiding common money mistakes
-
Money mistakes to avoid
-
Keep your accounts and payments safer
-
Helpful resources for security and identity protection
-
Final selection checklist: choose in 10 minutes
This guide compares well known outdoor camera options, explains the real costs to plan for, and gives decision rules you can use before you buy. You will also find budgeting examples with real numbers so you can see what a setup might cost over time.
What to decide before you shop
Outdoor cameras look similar on a product page, but a few early decisions will narrow the field fast.
1) Power: battery, wired, or solar
- Battery: easiest DIY install. Plan for recharging or swapping batteries, especially in cold weather.
- Wired: steady power and often better reliability. Installation can be more work, sometimes requiring drilling or an electrician.
- Solar: reduces charging, but performance depends on sunlight and panel placement.
2) Video storage: local, cloud, or both
- Local storage (microSD, hub, NVR): can reduce monthly fees, but you need to protect the recorder from theft or damage.
- Cloud storage: easier remote access and sharing, but usually requires a subscription.
- Hybrid: local backup plus cloud clips can be a good balance if your budget allows.
3) Connectivity: Wi Fi strength and range
Many “camera problems” are actually Wi Fi problems. Before buying, do a quick phone speed test where the camera will go. If the signal is weak, budget for a mesh system or a Wi Fi extender, or consider a wired PoE system.
4) Smart home ecosystem: Alexa, Google, Apple
If you already use Alexa, Google Home, or Apple Home, check compatibility. Some cameras work best inside their own ecosystem, and features like live view on a smart display can vary.
5) Motion alerts: accuracy matters more than resolution
4K video sounds great, but alert quality often matters more day to day. Look for person detection, activity zones, and the ability to reduce false alerts from trees, cars, and pets.
Best outdoor cameras: side by side comparison
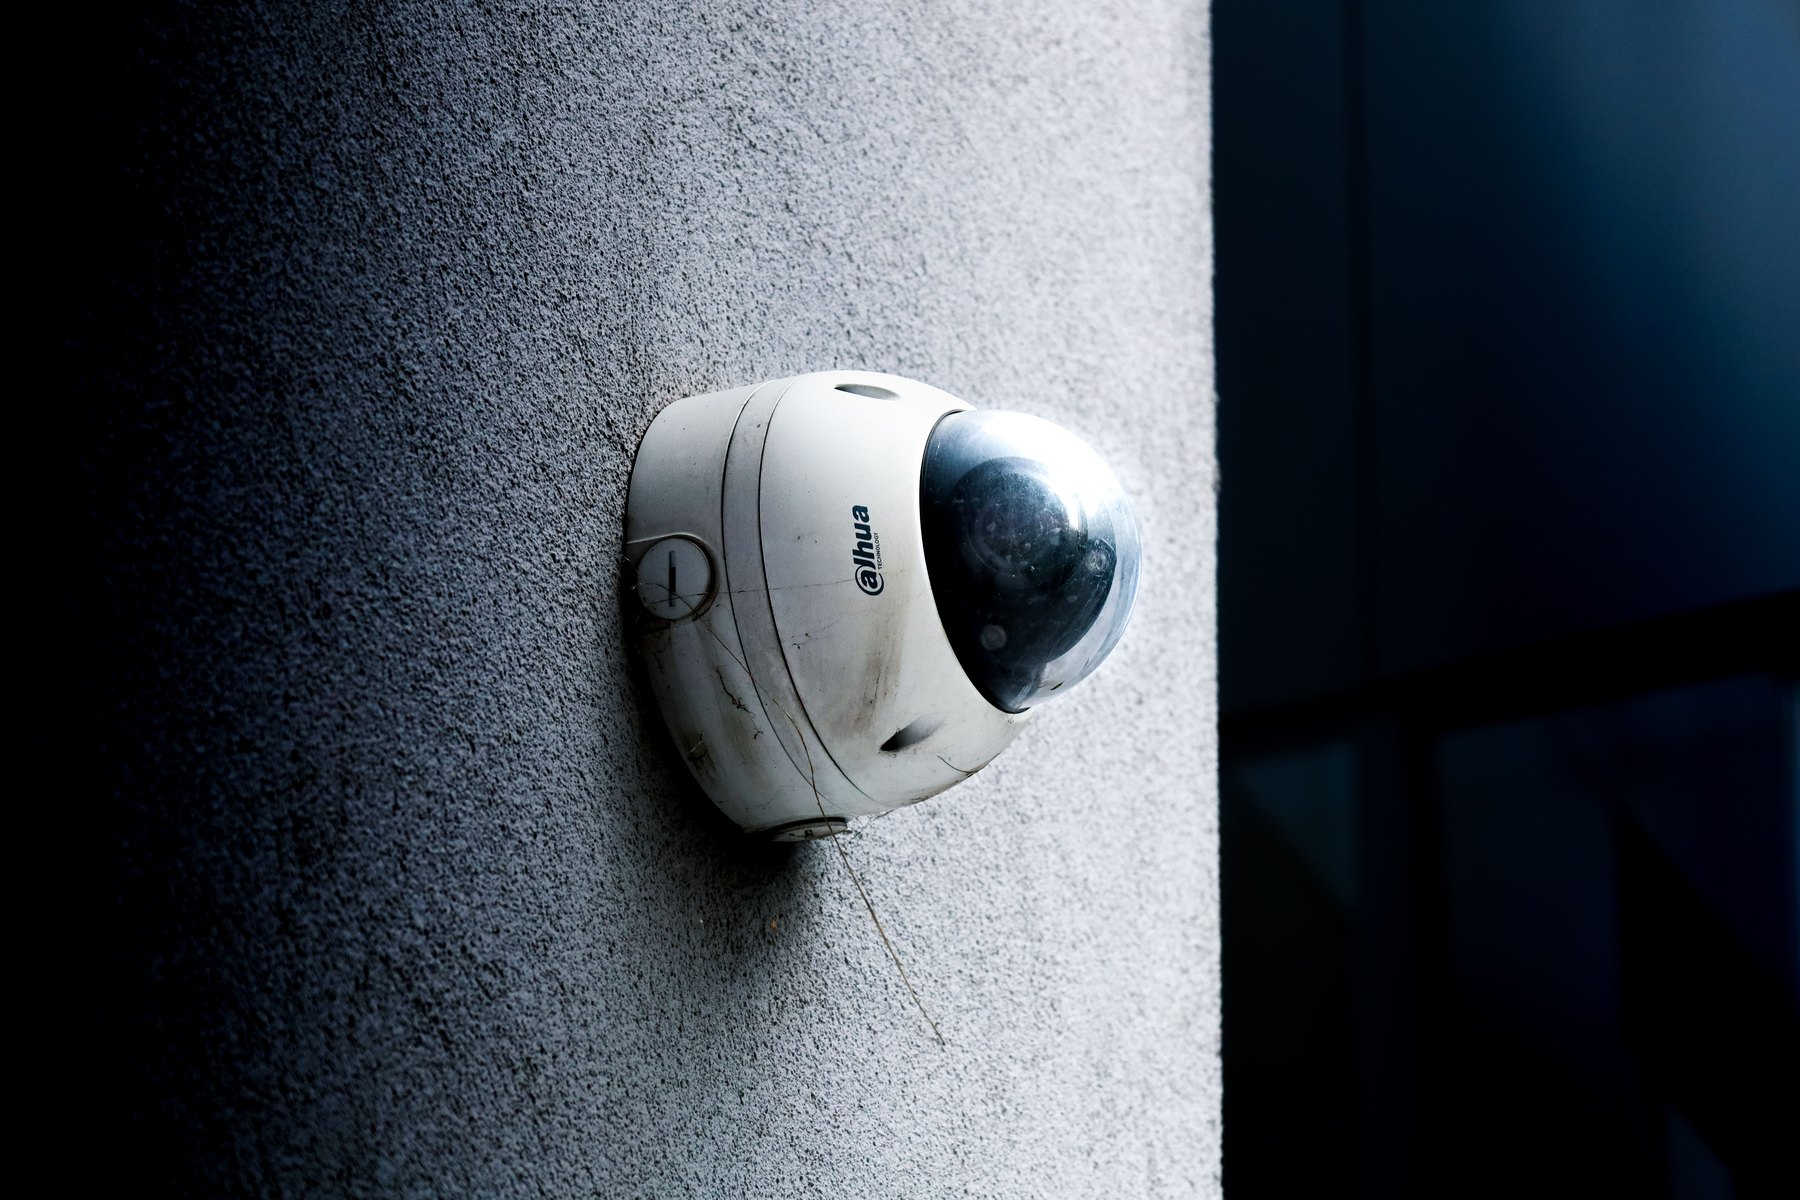
Below are recognizable options people commonly compare. Availability, features, and subscription pricing can change, so verify current plan details before you buy.
| Option | Best fit | What to compare | Main drawback |
|---|---|---|---|
| Ring Stick Up Cam (Battery or Wired) | Alexa households and simple app experience | Cloud plan cost, motion zones, battery life, spotlight versions | Many features depend on a subscription |
| Arlo Pro series (varies by model) | Wireless setups with strong app features | Subscription tiers, hub needs, spotlight, 2K or 4K options | Ongoing costs can add up with multiple cameras |
| Google Nest Cam (Battery) | Google Home users who want tight integration | Nest Aware pricing, familiar face alerts, event history length | Best features often require a paid plan |
| EufyCam (e.g., EufyCam 2 or 3 series) | People trying to avoid monthly fees with local storage | HomeBase storage, encryption options, AI detection, solar variants | Local hub placement and security settings matter |
| Reolink (Wi Fi or PoE models) | Value focused buyers and DIY PoE systems | NVR vs microSD, PoE wiring needs, app notifications, night vision | PoE install can be more work than battery cameras |
| Wyze Cam Outdoor / Wyze Battery Cam (varies) | Low upfront cost and basic coverage | Detection features, subscription add ons, battery performance | May have fewer premium features and shorter support cycles |
How to compare total cost, not just the camera price
Outdoor cameras can be a one time purchase, a monthly subscription, or both. A smart comparison looks at your total cost over 12 to 36 months.
Costs to include in your budget
- Hardware: camera, mounts, solar panel, hub, or NVR.
- Storage: cloud subscription or local storage devices.
- Network upgrades: mesh Wi Fi, extender, or Ethernet runs.
- Power: batteries, charging time, or electrician costs for wired installs.
- Accessories: weatherproof junction boxes, longer cables, floodlights.
Quick decision rule: subscription math
If a cloud plan is, for example, $3 to $10 per month per camera (or a flat household plan), multiply by 24 months and compare that to the cost of a local storage hub or NVR. This helps you decide whether you prefer a higher upfront cost or a predictable monthly bill.
| Cost item | One time or ongoing? | What to check | Budget tip |
|---|---|---|---|
| Camera hardware | One time | Warranty length, weather rating, replacement parts | Buy 1 camera first to test alerts and Wi Fi |
| Cloud storage plan | Ongoing | Event history days, person detection, sharing | Look for household plans if you want 3+ cameras |
| Local storage (hub, NVR, microSD) | Mostly one time | Capacity, encryption, where recordings live | Place the recorder somewhere hard to steal |
| Wi Fi upgrade | One time | Coverage outdoors, backhaul, router age | Mesh often beats an extender for multi camera setups |
| Power and install | One time or occasional | Outlet access, cable routing, ladder safety | Wired can be cheaper long term if batteries are a hassle |
Feature checklist that actually changes your day to day experience
Use this checklist when comparing product pages. It focuses on what tends to matter after the first week of ownership.
Video and night performance
- Field of view: wide enough to cover the area without making faces too small.
- Night vision type: infrared vs color night vision with spotlight.
- HDR: helpful for bright porches and shaded driveways.
Alerts and detection
- Person detection: reduces false alerts.
- Activity zones: ignore sidewalks while watching your porch.
- Package alerts: useful for front door coverage, if supported.
Privacy and account security
- Two factor authentication: turn it on if available.
- Encryption and local storage controls: understand where video is stored and who can access it.
- Guest access: share with family without sharing your main password.
Weather and durability
- Operating temperature: battery cameras can struggle in extreme cold.
- Weather rating: look for an IP rating suitable for rain and dust.
- Mounting options: soffit, siding, brick, or pole mounts.
What this looks like with real numbers: three budgets
Prices and plan costs vary by retailer and time, so treat these as planning examples. The goal is to show how costs stack up and how to allocate money across hardware, storage, and network reliability.
Scenario A: Starter setup for a small home – $250 total
- $120 – 1 outdoor camera (battery or wired)
- $30 – mount, screws, weatherproofing accessories
- $0 – $60 – optional microSD card or entry cloud plan (check current pricing)
- $40 – basic Wi Fi extender if signal is weak near the install spot
- $40 – buffer for a second mount, longer cable, or replacement battery
Decision rule: If you are unsure about subscriptions, start with local storage or a short trial period, then decide after you see how often you review clips.
Scenario B: Typical 3 camera coverage – $700 total
- $420 – three midrange outdoor cameras
- $120 – mesh Wi Fi node or router upgrade to reduce disconnects
- $120 – local storage hub or NVR starter cost (or 12 months of a household cloud plan, depending on brand)
- $40 – accessories: junction boxes, cable clips, angled mounts
Decision rule: If you want 3+ cameras, compare a household cloud plan versus per camera pricing. The pricing structure can matter more than the camera price.
Scenario C: Higher reliability setup with PoE – $1,500 total
- $800 – four PoE cameras plus an NVR kit (varies widely by brand and storage size)
- $250 – Ethernet cable, tools, weatherproof conduit and junction boxes
- $300 – professional help for cable runs if needed (get multiple quotes)
- $150 – UPS battery backup for router and NVR to keep recording during short outages
Decision rule: If you care most about uptime and continuous recording, wired PoE is often worth comparing, especially for driveways and larger properties.
Financing and payment options: how to think about the tradeoffs
Some shoppers pay upfront, while others use a credit card, buy now pay later, or a small personal loan for a larger install. The right approach depends on your cash flow and how quickly you can repay.
If you pay with a credit card
- Compare the card APR, especially if you might carry a balance.
- If you have a 0% intro APR offer, note the end date and what the APR becomes after.
- Keep receipts and warranty info in case you need to dispute a defective product.
If you use buy now pay later
- Confirm the payment schedule and what happens if a payment is late.
- Make sure returns are straightforward, since cameras sometimes need testing before you commit.
If you consider a personal loan for a bigger project
- Compare APR, origination fees, and repayment terms across multiple lenders.
- Borrow only what you need for the project and keep a small buffer for installation surprises.
- Prefer shorter terms you can comfortably afford to reduce total interest paid.
Timeline decision rules: when to buy basic vs invest in a full system
Your time horizon changes what “best” means. Use these rules to match the system to your plans.
Under 1 year
- Favor a 1 to 2 camera setup you can move easily.
- Avoid complex wiring if you might move soon.
- Keep spending focused on the highest risk area: front door or driveway.
1 to 3 years
- Consider a 2 to 4 camera plan with a household storage approach.
- Budget for a Wi Fi upgrade if you see disconnects or missed events.
3 to 7 years
- It can be worth comparing wired power or PoE for reliability.
- Look closely at ecosystem lock in and long term subscription costs.
7+ years
- Prioritize replaceable parts, durable mounts, and a clear upgrade path.
- Consider systems that can keep recording locally even if you change providers or plans.
Practical placement plan: cover the basics with fewer cameras
Before buying more cameras, map your property and identify the highest value angles.
- Front door: capture faces and packages. Angle down slightly to reduce glare.
- Driveway: capture vehicles and approach paths. Consider a wider field of view.
- Back door or patio: common entry point with lower visibility from the street.
- Side gate: often overlooked and can be a quiet access route.
Tip: Avoid pointing cameras directly at neighbors’ windows. Use privacy zones if your camera supports them.
Returns, warranties, and avoiding common money mistakes
Outdoor cameras are one of those purchases where a good return policy can save you money. Many people only discover Wi Fi issues or false alerts after a few days.
Money mistakes to avoid
- Buying a multi pack first: test one camera for signal and alerts, then scale.
- Ignoring subscription pricing: a low camera price can be offset by higher monthly costs.
- Skipping network upgrades: unreliable Wi Fi can make any camera feel “bad.”
- Under budgeting accessories: mounts, junction boxes, and cables add up.
Keep your accounts and payments safer
- Use a unique password and enable two factor authentication.
- Review your card statements after purchases and returns.
- If you are financing, set up reminders so you do not miss payments.
Helpful resources for security and identity protection
If you are buying cameras because of theft concerns, it can also help to tighten your broader financial and identity protections.
- FTC consumer guidance for identity theft and scam prevention.
- CFPB resources for handling billing disputes and consumer financial issues.
- AnnualCreditReport.com to review your credit reports from the major bureaus.
- FDIC for basics on protecting bank accounts and understanding deposit insurance.
Final selection checklist: choose in 10 minutes
- Power: battery, wired, or solar based on install location and climate.
- Storage: local, cloud, or hybrid based on your monthly budget.
- Coverage: front door and driveway first, then back door and side gate.
- Network: confirm Wi Fi strength at the install spot or plan for mesh.
- Ongoing costs: add up 24 months of subscriptions if you plan to use them.
- Return plan: buy from a retailer with an easy return window so you can test.
If you narrow your choices to two or three models, compare them on the same four factors: power, storage, alert accuracy, and total cost over time. That approach usually leads to a camera setup you will actually keep using.

